Unisex Pajama Bottom, Free… For Now: Part Two
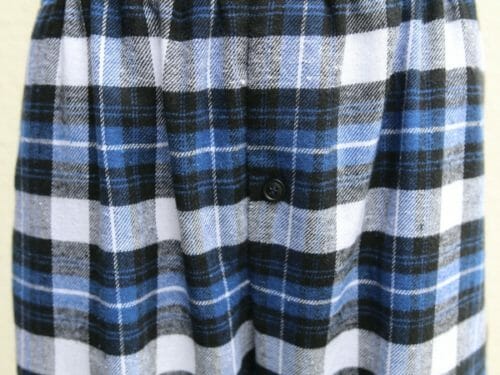
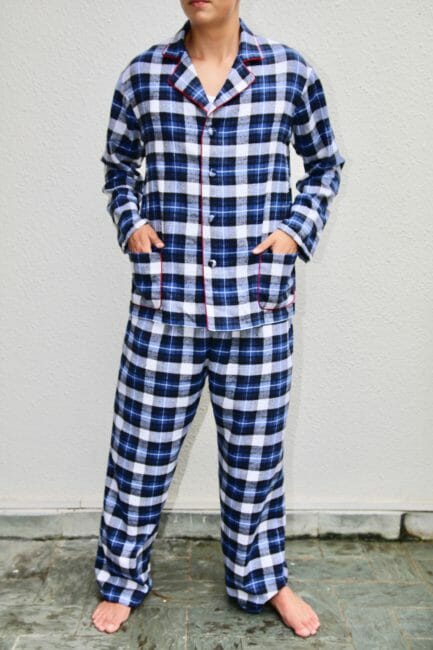
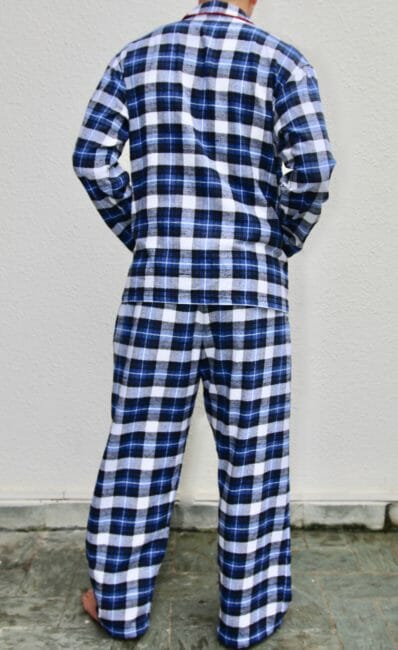
 This is the second part of the unisex pajama pattern. These are the pajama bottoms to match the top that we did last week. I am using the rest of my flannel which is already washed and preshrunk in the dryer.
I have added pockets to the pants, for whatever reason I can not explain I prefer pockets on my pajama bottom even though I hardly use them.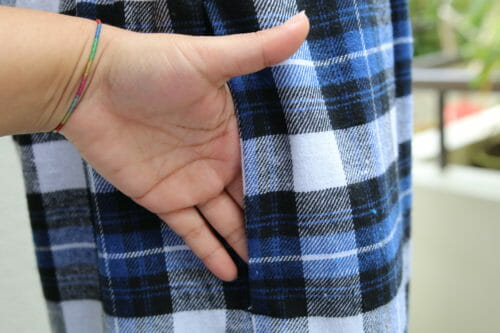
The elastic waistband on this pajama bottom is made differently than you are probably used to seeing. The reason is that I hate a wide elastic in my pajamas, the three rows of thin elastic make it a lot more comfortable for sleeping.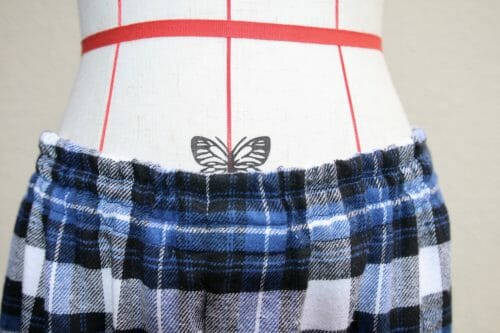
For the gentleman, there is a fly front for an easy escape. 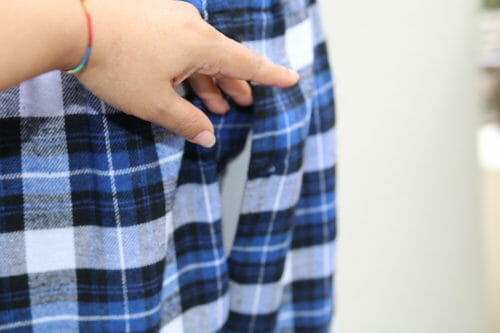 The fly front closes with a buttonhole on the outside and a button in the inside away from the skin.
Materials
- 2 to 2.5 yards of flannel, cotton or silk. Allow extra fabric if matching stripes or large print.
- Thread to match
- 3 yards of 1/4″ elastic or a 2″ elastic the sizes of your waist.
- One 14 mm button
Tools
- Sewing machine
- Buttonhole foot
- Scissors
- Measuring tape
- Pins
- Iron
Fabric Recommendations from Fabric.com
Pattern Download
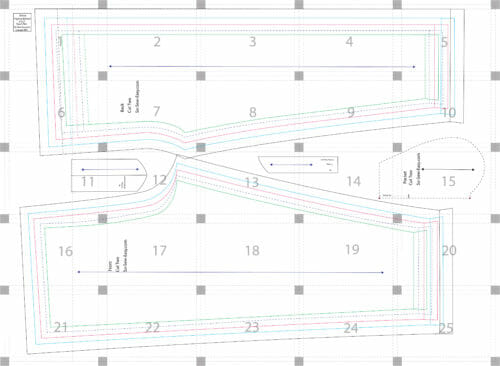
Print your pattern on Landscape Mode and Actual Size. Do not scale the pattern at all you will only need Adobe Reader to print. As before the pattern does have a seam allowance of 5/8″.

The FREE sewing pattern along with detailed PDF instructions are available on Craftsy.com.
You can download it FREE there.
Pattern Layout
Unisex Pajama Pattern Finished Measurements
The measurements given below are indicted without an elastic. Allow 6″ for ease.
The first thing you will notice is that small size (S) is rather large. I made a small size for myself since I like my pajama pants rather roomie.
It is slightly difficult to grade a unisex pattern, however, I found that most woman with a waist size between 34 to 37″ with an hourglass figure (10″ more on the hips) will be able to use the small and medium size.
For men, you will have to add length to the pattern. I added two inches using large and I found where my son uses his pajamas was one inch too short.
In hindsight, I should have added an XS to accommodate a woman who is size 6-8.
I strongly recommend making a muslin before cutting your pajama bottoms especially if you are using silk.
| Size | Waist | Hips | Length |
| S | 40 | 50 | 36 |
| M | 42 1/2 | 52 | 38 |
| L | 43 1/2 | 54 | 39 |
| XL | 46 1/2 | 56 | 40 |
| 2XL | 50 1/2 | 60 | 41 |
How To Sew Your Pajamas
This pattern style is the same as the Mens shorts pajama pattern I released in June 2016.
It is not the same pattern, but the same style. The pockets are sewn the same way, and there is even a video of it. Please do have a look at the video and the tutorial on this site to be able to follow along. I will release a video on this pattern soon, with subtitles and a better microphone.
Sewing The Pockets
You will have four sides of the pockets and four sides of the pants. You will have to sew each side to the front and back of the pajama bottom.
Place the front of the pajama bottom right side up on your table. Place one of the pockets print side down, 4.5″ from the waist edge. I am showing you with the pattern since I have to match the print you will not be able to see what I mean. 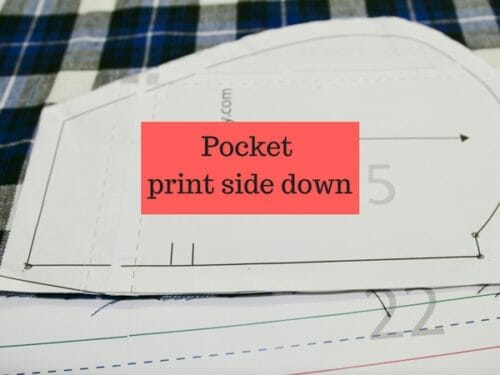
Sew the pocket opening from one dot to the next marked on your pattern. Fold away from the fabric and Iron. 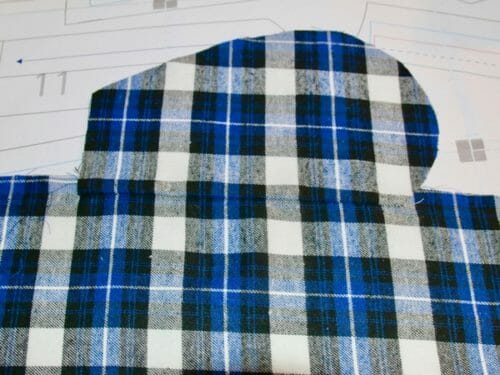 Repeat the same procedure for the three remaining sides of the pockets.
Place the front and back print sides together with the pockets pin together.
Attaching The Fly
There are two pieces for the fly. Apply fusible interfacing to both pieces. Originally I had made a curve at the bottom but realized it would be easier if I just made the end straight. So your pattern will not have a curve, however, you still have to serge the bottom. 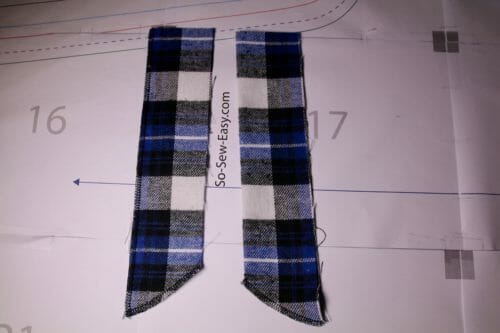
The biggest side will be folded in half and serge at the bottom. The thinner fly will be serged on three sides. The side that you sew to the pajama bottom does not have to be serged.
Place the double-sided fly on the left front side of the front. Pin the thin side on the right side of the front of the pajamas. Pin both 4″ front the waist at the same height as the pockets. Sew the fly at 5/8″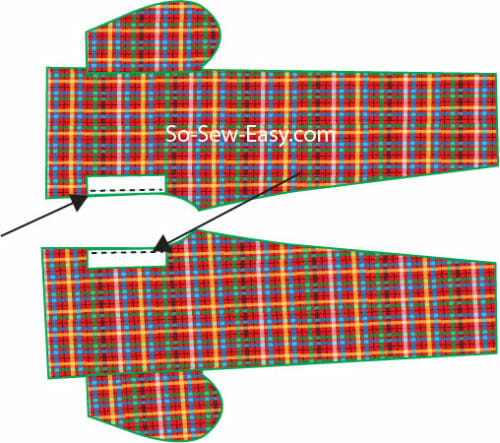
Sew at 5/8″ fold to bring the print of the fly face up and iron. Topstitch from the top, leaving 5/8″gap at the bottom of the fly.
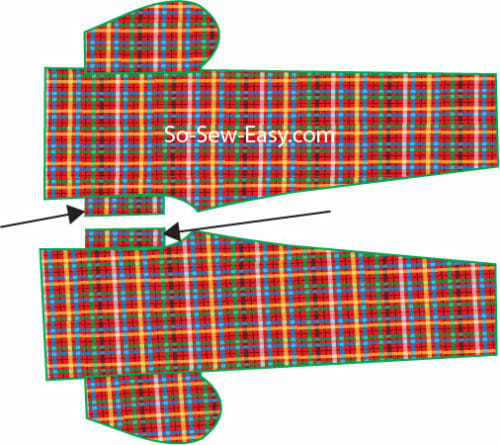
Sew the folded fly at 5/8″, iron and fold as you did previously.
Assembling Your Pajama Bottoms
You will assemble one leg at a time. We will first join the pockets, then we will sew the crotch, make the waist, add the elastic, tack the pockets and fly, and hem the pajama bottom.
1. Joining the pockets
Place the front and back of the pajamas print sides together with the pockets away from the pants and pin the pockets. Print sides facing each other. Sew the pockets at 5/8″. Serge the pockets.
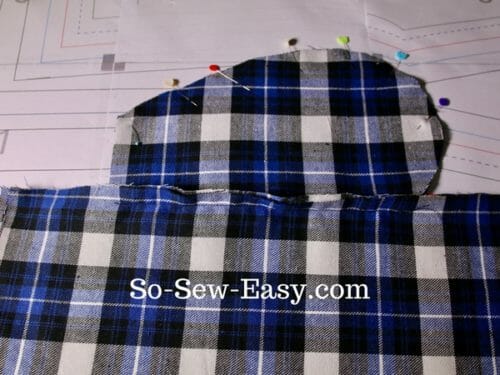 2. Sewing the sides
Sew the side at 5/8″ and serge the seams open. This allows you to be able to place your hands inside the pockets.

Sew the inner thigh seams at 5/8″ and serge together. This is the only seam you will serge close, all other seams you will need to leave open.
Repeat the same procedure on the other leg.
3. Sewing the crotch
Use your serger to neaten the crotch on each leg.
Pin the legs at the crotch and sew front the waist to 1.5″ past the beginning of the fly and from the bottom of the fly all the way around the crotch and the back of the pajamas.
Working with the pajamas right side. Pin the pockets towards the front, this will enable you to work faster. Iron the single fly to the side fold the double fly over it and sew the bottom. 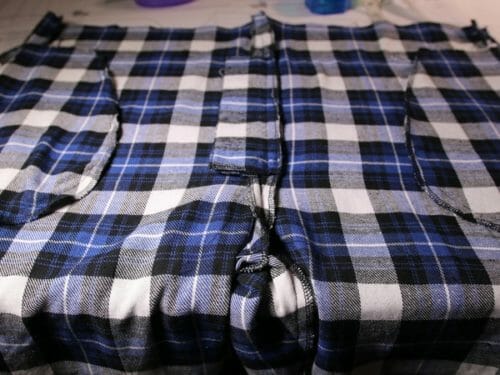
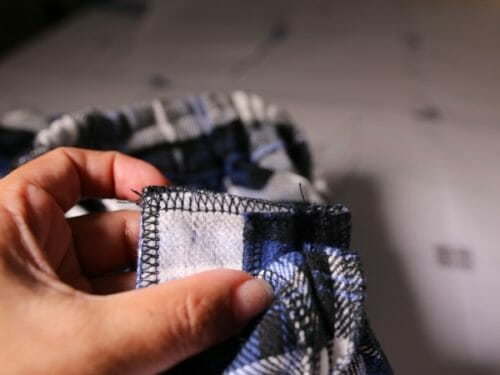
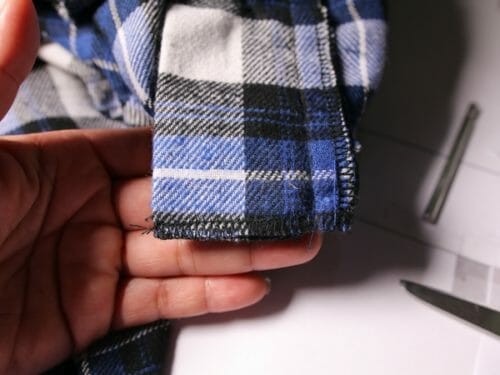 Sew across the bottom. You will at the end sew again but this time over the front of the pajamas to secure the fly to the front.
4. Sewing the waistband
Fold the waist 1/2″ and fold it again 2″ pin and sew at 1/8″ from the edge. Leave a gap at the back too insert the elastic.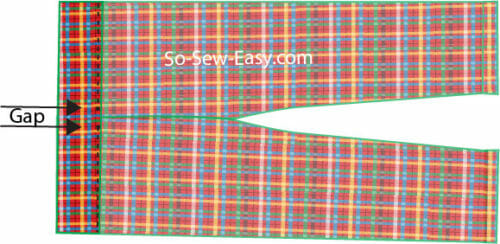
Sew two rows of stitches. Leaving a gap at the back to insert the elastic. In my case, I am making the L size and need a waist of 32″. I will have 3 channels to insert elastic.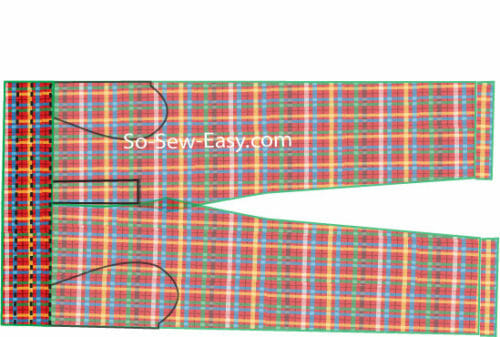 In my case, I cut 32″ of elastic times 3. Using a bodkin I thread the elastic through the rows and close the gap of the waistband. As you will notice the top of the fly and the pockets are covered by the waistband and the raw edges cannot be seen.
5. Hemming
Fold the hem 1/2″ then again 1″ and sew close to the edge at 1/8″.
6. Reinforcing the fly and pockets
Working on the front, sew the fly straight across the bottom so the fly does not move.
Reinforce the end and top of the pockets with a straight stitching of no larger than 1/2″. Do this back and forth about 3 times.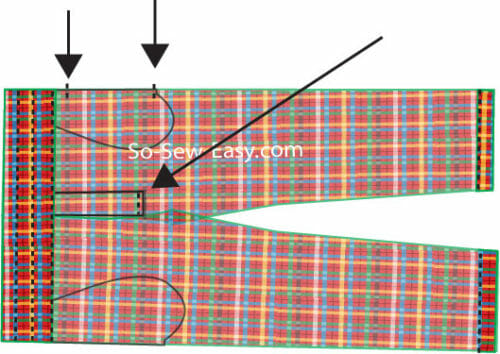 Finally, add a button to the inside fly and a buttonhole to the outside. See the fo









 ЌачнЄм ?откладыван? меро?ƒи, ƒ“? ƒ“?
